[Lead paragraph that frames the problem and the promise of the article.]
[Body paragraph.]
Start with the room, not the fixture
A lighting specification should explain what the light needs to do before it names the fixture. A dining room, reception desk and reading corner may share a visual language, yet they do not ask the same things of light. Begin with the activity, the surfaces that need attention and the atmosphere the project should support.
Colour temperature, colour rendering index and lumens describe different parts of that decision. None is a complete description of the experience. Read them together, then check distribution, glare, controls and the physical installation. This guide is a framework for comparing information, not a substitute for a project lighting calculation or the manufacturer's installation instructions.
Colour temperature describes the appearance of the light
Correlated colour temperature, usually shortened to CCT, describes whether nominally white light appears warmer or cooler. It is expressed in kelvin, shown as K. Lower values generally appear warmer; higher values generally appear cooler. It does not describe the temperature of the fixture or the heat it gives off.
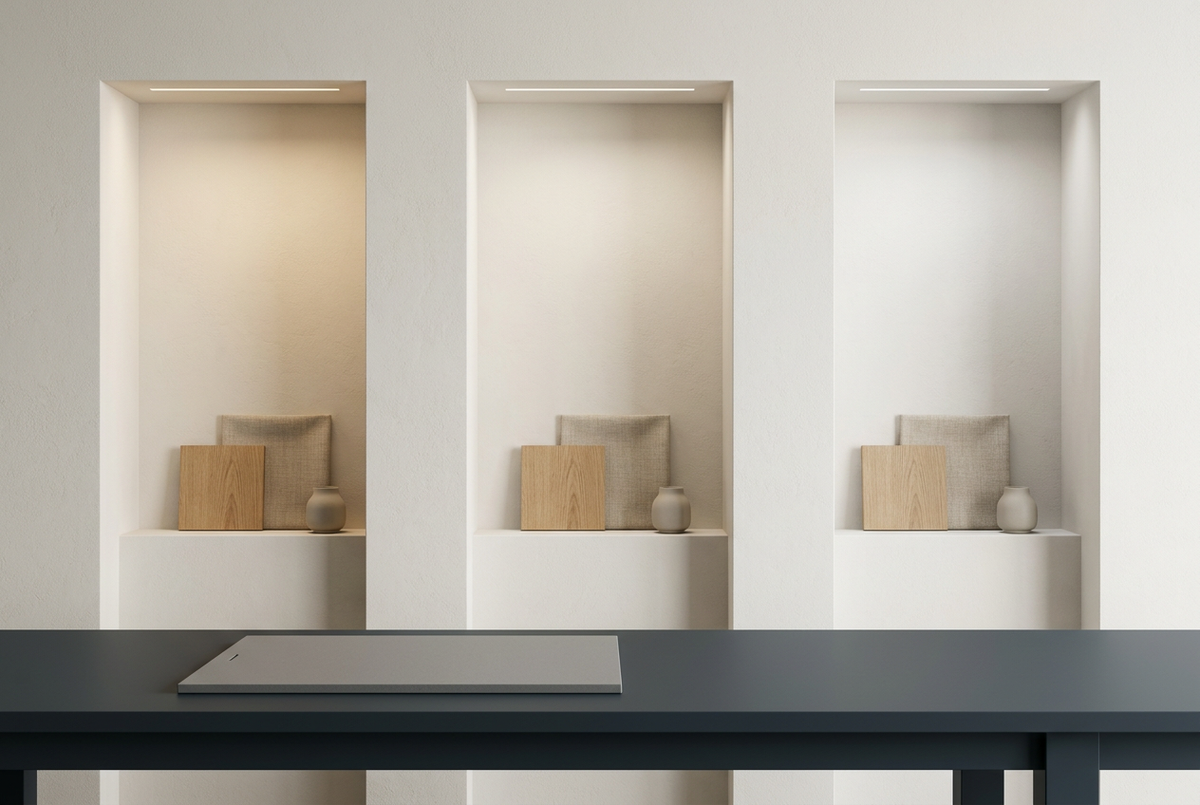
The US Department of Energy also notes an important limitation: two sources with the same CCT can still look different. A matching number does not guarantee a matching visual result. When several fixtures will be seen together, compare physical samples or a mock-up, particularly where a consistent wash of light is important.
Start with a clear intention for the space, then assess the light against actual finishes. A wall colour, timber sample or textile can appear different under the proposed source. Treat the chosen CCT as one recorded decision within the scheme, not a universal rule attached to a room name.
CRI describes one aspect of colour fidelity
Colour rendering index, or CRI, helps describe how a source renders object colours relative to a reference. It is separate from CCT: warm-looking light is not automatically more faithful, and cool-looking light is not automatically less faithful.
The Department of Energy describes CRI 90 or higher as indicating excellent colour fidelity, while also explaining that CRI is an incomplete metric. Saturated reds are a particular limitation; supplemental information such as R9, or a more comprehensive colour evaluation such as TM-30, may be useful when available.
For a project where timber, upholstery, artwork or food appearance matters, ask for the available colour information and assess real samples under the proposed lighting. Do not treat a CRI headline as a guarantee of the finished room's appearance. The source, material and viewing conditions need to be considered together.
Lumens describe output, not the entire lighting result
Lumens describe light output. The distinction between a light source and a complete luminaire matters when comparing specifications. The Department of Energy's product-performance guidance explains that output values can depend on where and how measurement takes place.
Ask whether the stated output refers to the source or the complete fixture. Avoid comparing unlike figures as if they were equivalent. A decorative shade, optical system and distribution pattern also influence where light goes, so a single output number cannot describe the whole result on a table, wall or work surface.
For the project calculation, use suitable photometric information and the actual room conditions. Do not derive a required fixture count solely by matching a lumen number from a different project. Record assumptions so another member of the team can understand and review the selection.
A room-by-room specification checklist
The following table sets out questions rather than universal targets. Actual performance criteria should be established for the project by the responsible design team.
| Space or task | Start by asking | Evidence to request or review |
|---|---|---|
| Living and lounge areas | Where do people sit, read and move? | Distribution, visual comfort and proposed control behaviour |
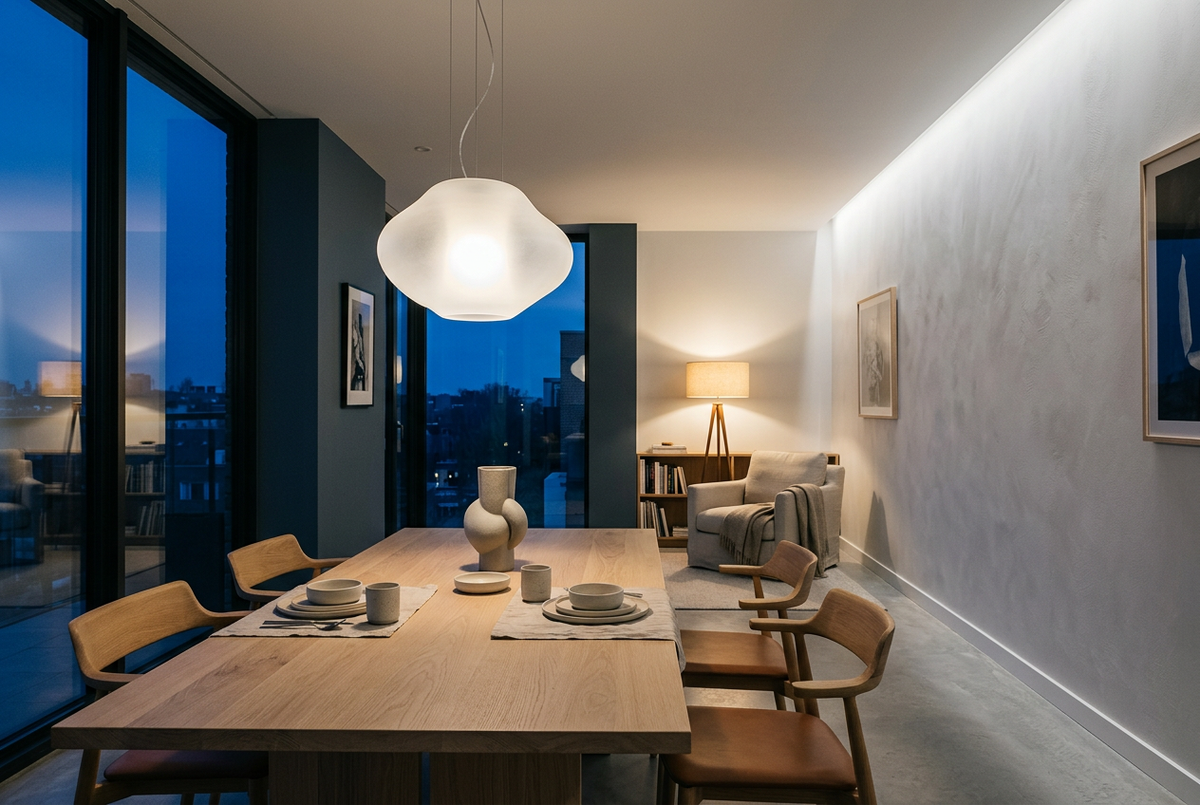
| Dining areas | What should be visible on the table and around it? | Output basis, material appearance and a mock-up where needed |
| Reception and arrival | Which faces, signs and surfaces need attention? | Colour information, distribution and coordination with adjacent areas |
| Work surfaces | What tasks happen here, and for how long? | Project lighting calculations, glare assessment and fixture data |
| Bedrooms and guest rooms | Which activities need separate control? | Switching arrangement, dimming compatibility and installation details |
Check controls before approving the selection
A specification is not complete when the appearance and output are agreed. Confirm the exact fixture, driver and control combination with the relevant manufacturers. Request compatibility evidence rather than assuming that the word 'dimmable' answers every control question.
Record the selected version of the product, not just the family name. Keep the control requirements alongside the fixture schedule so the design, procurement and installation teams are working from the same decision. Any unresolved compatibility question should remain visibly open rather than disappearing into an email thread.
Turn the comparison into a clear schedule
Use a consistent record for every proposed fixture: product reference, location, quantity, CCT, colour-rendering information, output basis, distribution, control requirements and supporting document revision. Add installation and electrical details from verified manufacturer information rather than filling gaps from a similar-looking product.
When comparing alternatives, distinguish between differences that affect the design and information that is simply missing. A blank field is a reason to ask a question, not evidence that two fixtures perform in the same way. Update the schedule when an approved selection changes, and retain the basis of approval.
Specifier tip: compare material samples under the proposed source before signing off the scheme. Keep the sample reference and the lighting version together in the project record.
Specify the experience, then verify the numbers that support it.
Your next step
Discover lighting for your next project. Begin with the intended atmosphere and task, then compare the verified product information before making a selection.
Sources
US Department of Energy: LED Color Characteristics
US Department of Energy: LED Basics
US Department of Energy: Reporting LED Luminaire Product Performance
[Pull quote that captures the key idea.]
[Name], [Role][Caption · credit]
Featured in this article
Recommended levels
- [List item]
- [List item]
- [List item]
| Space | Colour temperature | CRI |
|---|---|---|
| [Space] | [2700K] | [90+] |
| [Space] | [3000K] | [90+] |
| [Space] | [4000K] | [95+] |
Specifier tip
[Short practical note with a link to the relevant product or download.]